Showing posts with label #cddmonthly. Show all posts

Monday, April 2, 2018

Hey There Cutie... Happy Easter!

Happy Easter everyone!  
Today I got an Easter card to share with you and would like to invite you all to join us at Craftin Desert Divas April Mood Board Challenge. Click here to join us.


And here is the Photo Inspiration for April.
Isn't it so sweet and cute?


Look at the center of the photo... Yes I was inspired by those cuties in the eggshells..  
Here is how I made it.


I used the small oval shape from Fancy Stitched Label dies from white card stock and used one of the scallop border dies from Stitched Scalloped dies to cut it into half... I need 3 eggshells for my cuties images from Friend In Me stamp.


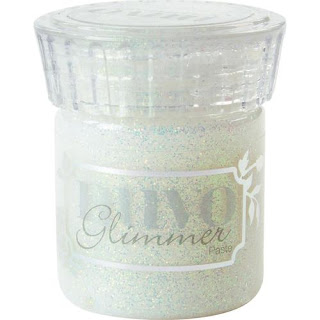
Using distress oxide inks in bundle sage, worn lipstick and squeezed lemonade on those eggshells and used Sorted Shapes 1 stencil on those eggshell with Nuvo Glimmer Paste Moonstone.


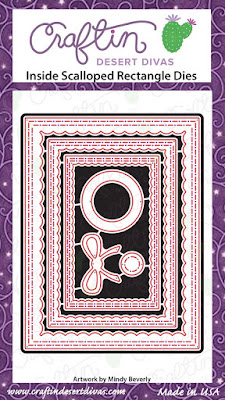
I cute my main panel from white cardstock with Inside Scalloped Rectangle dies and used the same scallop die that I cue for eggshell to create the puffy clouds.  I also used the grass border dies from Outdoor Landscape 2 for my grass. 

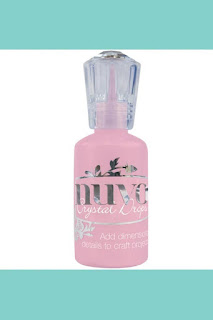
I stamped and colored all 3 cuties from Friend In Me stamp set with copic markers and fussy cut them out.  I also cut the arm areas for tugging them on the eggshells.  To finish up with the sentiment, I used Flag Banner dies on Vellum and Nuvo Drop in Bubblegum Brush.

Here is the closer look one more time 


I hope you like it and joining our April Mood Board Challenge.  There are prizes to be won and the winner will be announced at the beginning of each month.  Good Luck and Thank you for stopping by today.

Hugs,
Jan
(Links are affiliate links which mean I'll earn some extra from CDD at NO EXTRA cost to you if you purchase CDD products from these links... Thank you for your support)

Here are CDD products that I used
 
http://craftindesertdivas.com/friend-in-me/?aff=7

http://craftindesertdivas.com/inside-scalloped-rectangle-dies/?aff=7

http://craftindesertdivas.com/outdoor-landscape-2-dies/?aff=7

http://craftindesertdivas.com/fancy-stitched-label-dies/?aff=7

http://craftindesertdivas.com/stitched-scallop-dies/?aff=7
 
http://craftindesertdivas.com/flag-banner-dies/?aff=7

 http://craftindesertdivas.com/sorted-shapes-1-stencil/?aff=7


http://craftindesertdivas.com/search.php?search_query=distress+oxide&Search=/?aff=7
Distress Oxide Inks

http://craftindesertdivas.com/nuvo-glimmer-paste-moonstone/?aff=7

http://craftindesertdivas.com/multi-medium-matte-5oz/?aff=7

http://craftindesertdivas.com/nuvo-crystal-drops-bubblegum-blush/?aff=7


Thursday, March 1, 2018

Pop Up Card Book Style

Hello everyone... It's been awhile since my last post and I apologize for being inactive.  my bad  :)  

Im here today to share with you my card for Craftin Desert Divas March Mood Board Challenge.  It's a month long challenge and I hope you can join us at CDD Mood Board Event page for March.

And here is what I made for you.


And here is our March Mood Board Photo Inspiration.
Isn't it pretty?


I also made a short vdo showing some details on how I created it 


Below here are some photos tutorial and supplies I used to create this card.


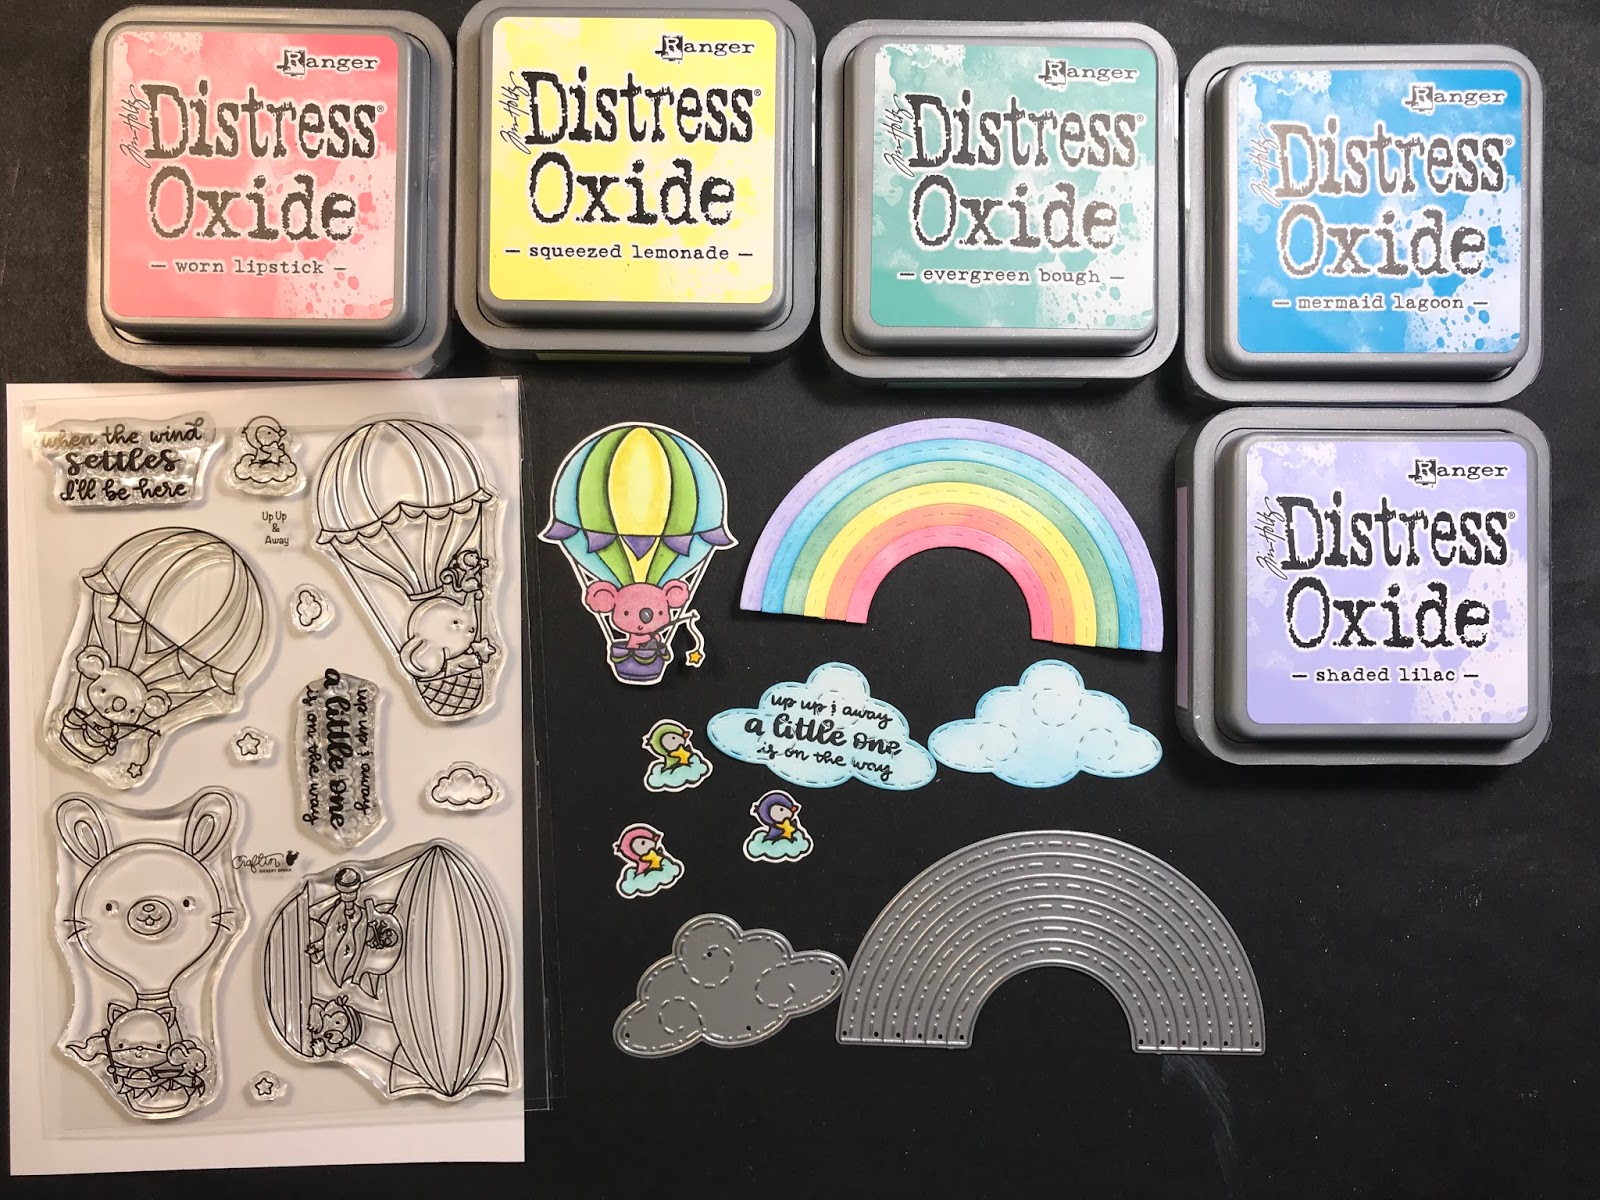
I began by created the background using Sorted Shapes 2 stencil using plaid pattern.  The colors I chose are from those ladies dresses from the mood board photo.  I used all in distress oxide inks in worn lipstick, squeezed lemonade, evergreen bough, mermaid lagoon and shaded lilac.


I did the template for my pop up panel with typing paper.  I folded about an inch at the bottom and then folded in half (picture 1 & 2)
I then pinched the folded corner and put it against the triangle corner to form 90 degree. (picture 3 & 4)


I folded up the paper back to half again and pushed it again my folded card base which is 5 1/2 " square card base and cut away the hang out paper from the edge (picture 1)

Opened it up and you will get this funny looking shape that will determine where can you decorate the panel inside.


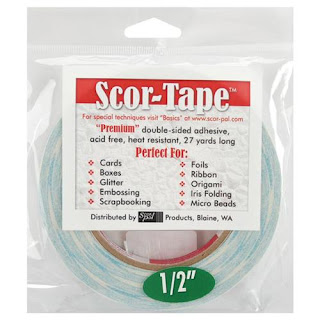
I traced it to my pretty pattern paper and cut it with Stitched Scallop dies for my cloud in the sky. At the bottom folded area I used scor tape 1/2 inch for heavy duty use but do left the folded center without any adhesive there.


I put it again the center fold of my panel and made sure that non of the edges are outside the card base.


I adhered one side of the panel down first so that I can made the final adjustment on the other side should it be some parts left out.


And here is the top view.


From there I began to create my elements using the same distress oxide inks with the cloud and the rainbow from Rainbow dies.  I colored the balloon with Koala bear and the birdies with copic markers and fussy cut them out.

Time to assemble them all together.


I made sure that my stamps & dies elements are not out beyond the card base.

And here is the closer look at both panel


And here is how I decorated my card front.


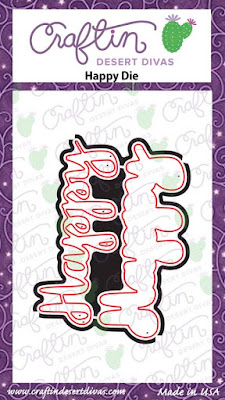
I used Inside Scalloped Square dies for my decorative frame, Happy dies and sentiments from Happy Sentiments and Tiny Treasure stamp.

Hope you like it and give it a try.
Thank you for stopping by today.

Hugs,
Jan

 (Links are affiliate links which mean I'll earn some extra from CDD at NO EXTRA cost to you if you purchase CDD products from these links... Thank you for your support)

Here are CDD products that I used in this card
 Happy Sentiments

Tiny Treasure

Up Up & Away

Inside Scalloped Square

Happy Dies

Stitched Scallop dies

Rainbow Dies


Sorted Shapes 2 stencil

worn lipstick

squeezed lemonade

evergreen bough

mermaid lagoon

shaded lilac

Glitter Accents Fresh Snowfall

Scor Tape 1/2"


Monday, January 1, 2018

Best 2018

Let's Welcome 2018 with Excellent Health and Prosperity Wishes for everyone.

Hi there my crafty friends... I'm here to share my 1st Craftin Desert Divas card for 2018 with you.

I created this card for Craftin Desert Divas January Mood Board Challenge using Water Coloring Technique for the background.

Here is January Mood Board Photo Inspiration.

I hope you can join us at CDD Facebook Gallery for some crafty fun and of course crafty prizes.

Here is how I prepared my card.

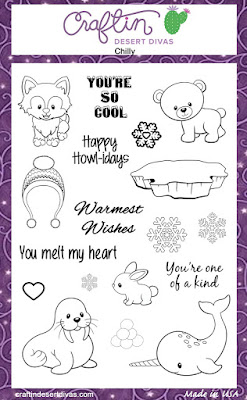
Cutting my main panel with Crazy Stitched Frame dies and mountain range die from Scenery dies.  I also embossed the polar bear stamp from Chilly stamp and pretended that he's standing over the cliff.  

I used distress oxide inks as water color medium in iced spruce for the mountain range, lucky clover for the trees and vintage photo for the cliff.  To get the variation of green tones, I mixed lucky clover with abit of vintage photo for darker green.  For the cliff top, after I laid down vintage photo distress oxide ink and let it dried.  I then put thin layer of white paint on top and back again with vintage photo for some variation of brown.  

I did try to color the bear with iced spruce but it's blended too much and I didn't like it so I stamped him again, colored him with copic markers and fuzzy cut him out.

I put the bottom panel on form tape for dimension and adhered the sky down directly onto black card based.  I also cut the mountain snow caps dies from white card stock.  For sentiment, "the best" is from Wishful Thoughts stamp and hand written "2018".  I heat embossed it with white embossing powder on black card stock.

I also have a bonus card for you *lol* and I hope you like it :) I created similar scene but I water colored the mountain background with the same distress oxide inks.

And here is the closer look.

I Thank you so much for stopping by today and I wish you all a Wonderful 2018.

Hugs,
Jan

(Links are affiliate links which mean I'll earn some extra from CDD at NO EXTRA cost to you if you purchase CDD products from these links... Thank you for your support)

Here are CDD products that I used in this card
Chilly
Wishful Thoughts
Crazy Stitched Frames
Scenery Dies
iced spruce
lucky clover
vintage photo